Create your first project
A project is one web app, identified by its URL. Add a name and URL, choose whether to record test runs, and TestOptim takes you to the Knowledge page.
In this article
To create a project in TestOptim, select Projects, then New Project, and enter a name and your app's URL. A project is one web app: its pages, test cases, test runs and issues all belong to it.
Before you start
- You must be the organization Owner or an Admin. Other roles can't create projects.
- Your plan has a project limit (2 on Solo). See The project limit.
- Have the URL of the app ready. It must be reachable from the public internet, because TestOptim's browsers run in the cloud and can't open
localhostor private network addresses. A staging environment is best, because the agent clicks buttons and submits forms.
Create the project
In the sidebar, select Projects, then New Project. If you just started a trial, you can also select Create a project in the Solo is live dialog.
Enter a Project Name. It can be up to 100 characters.
Enter the Website URL. A bare host such as
myapp.comis fine, and TestOptim addshttps://for you. If you typed your URL into the box on the TestOptim home page before signing up, it's already filled in here.Optionally, add a Description.
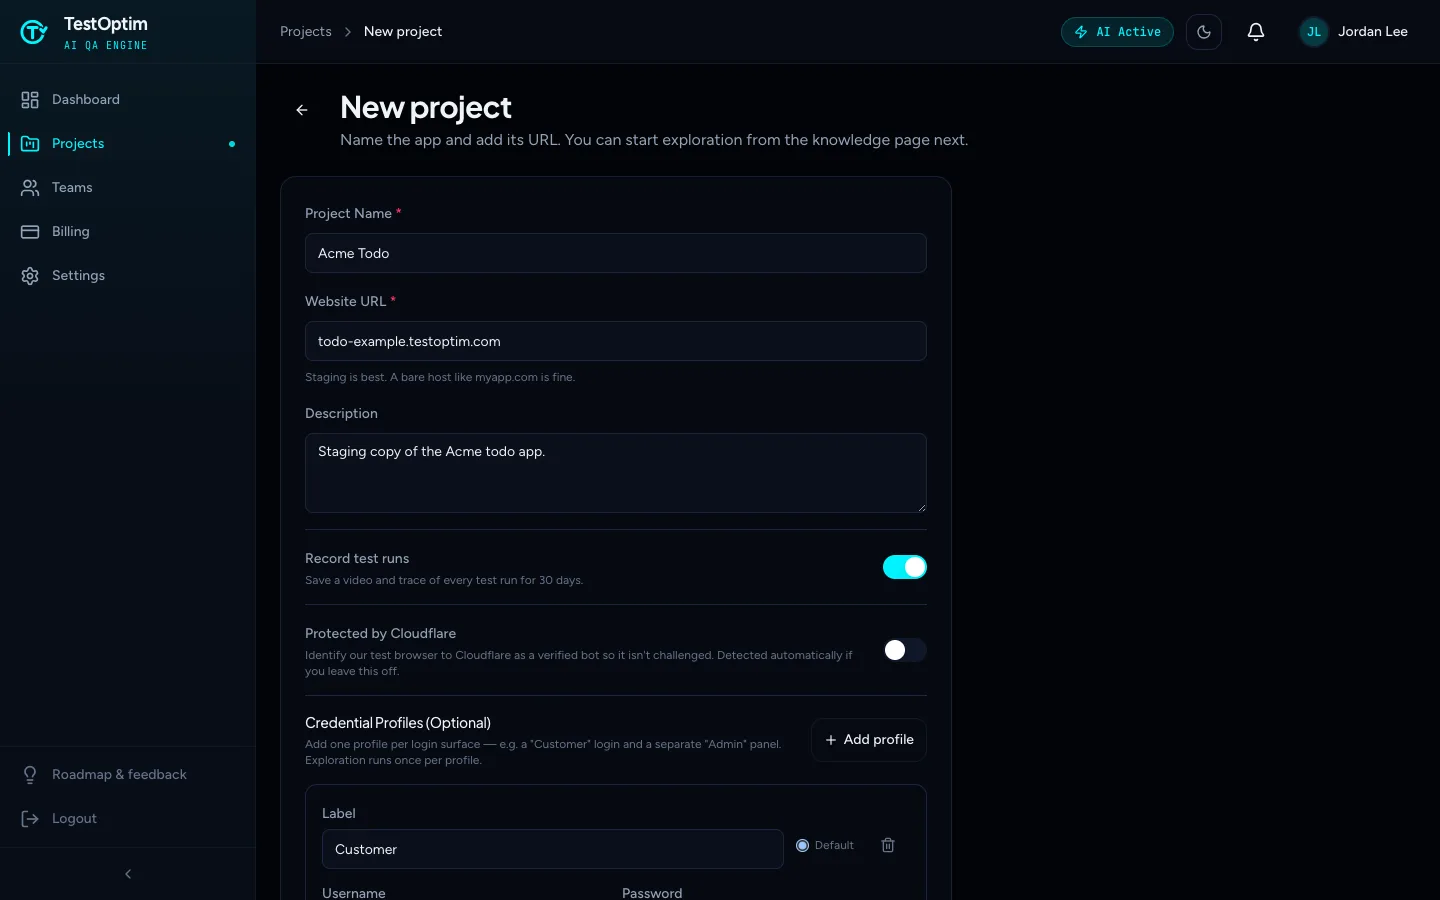
The New project form Choose your options:
- Record test runs is on by default. It saves a video and trace of every test run for 30 days.
- Protected by Cloudflare tells TestOptim your site sits behind Cloudflare. Leave it off and TestOptim detects it for you. See Let TestOptim through Cloudflare bot protection.
- Credential Profiles are optional. Add a test login now, or later in the project's settings. See Add login credentials so TestOptim can sign in.
Select Create project.
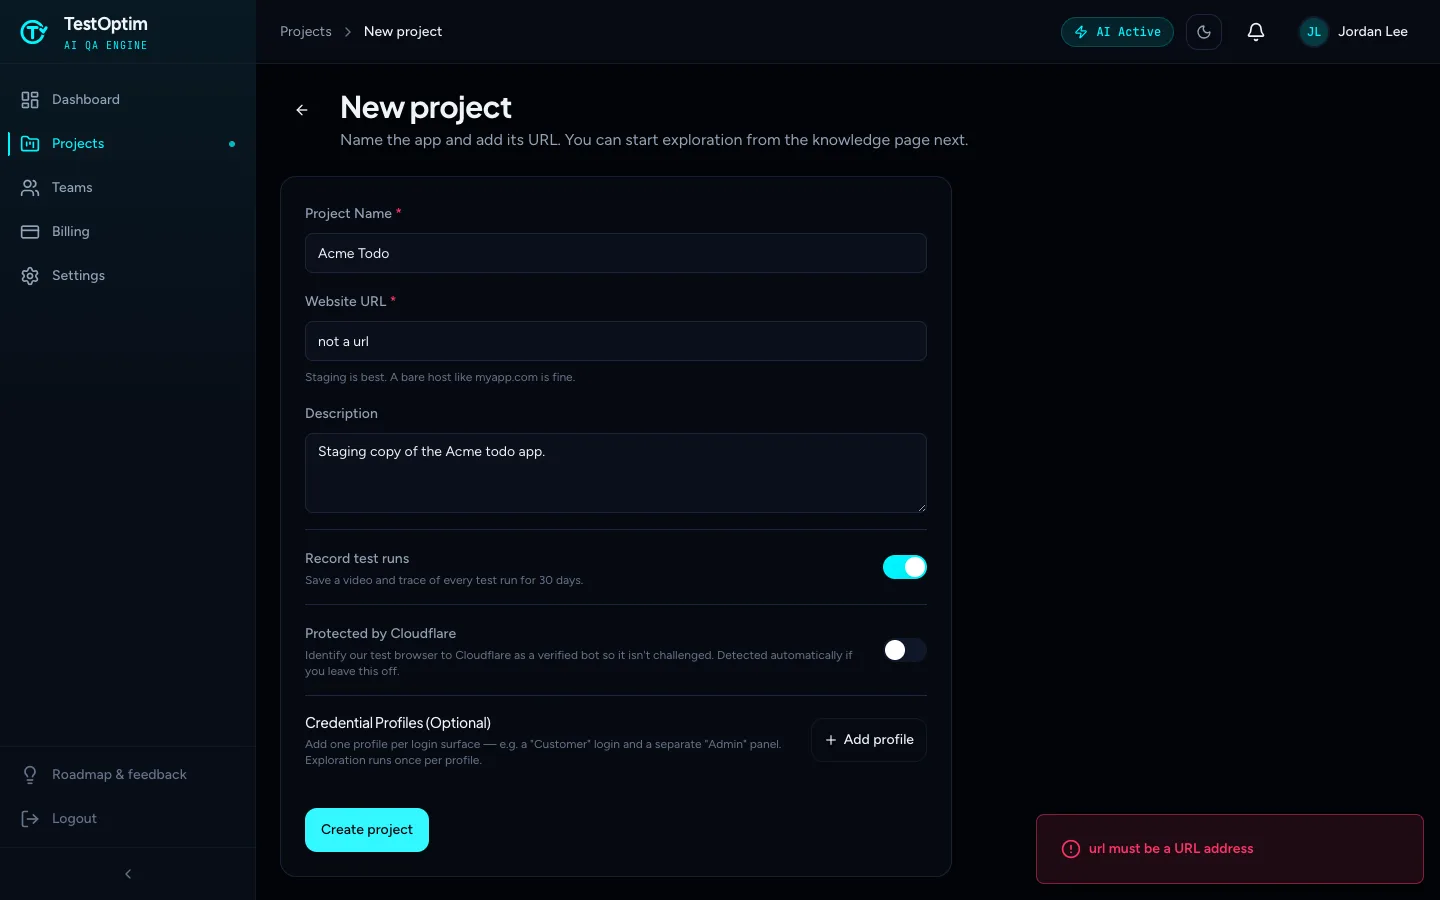
If the URL isn't valid, TestOptim shows an error and doesn't create the project. Check the address and try again.
Warning
The URL can't be changed after the project is created. The knowledge base, test cases and issues all describe that specific app. To test a different URL, create a new project.
What happens next
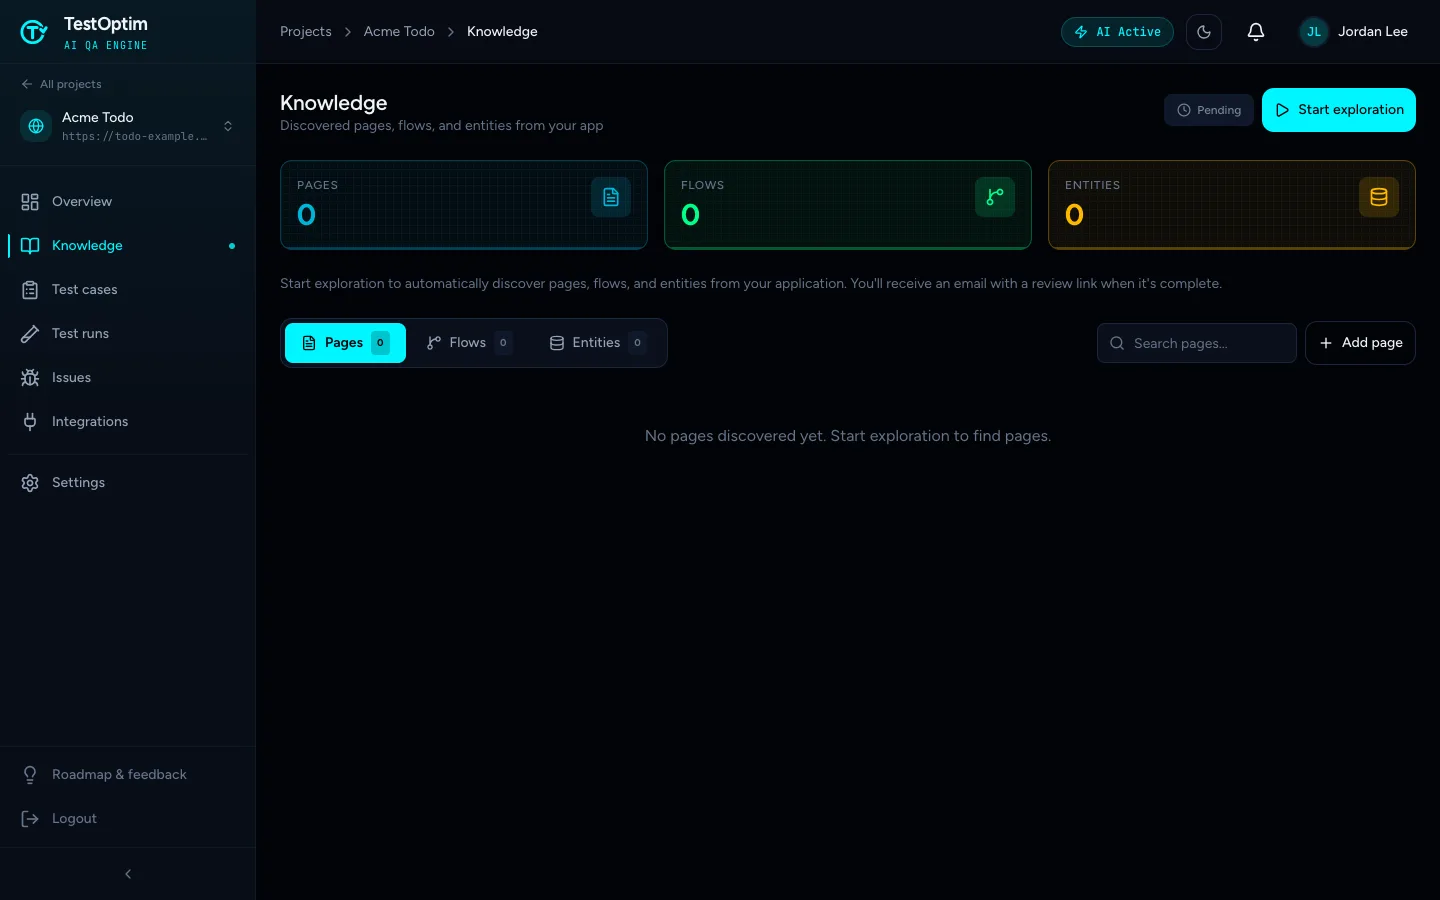
TestOptim opens the project's Knowledge page. Nothing starts automatically: no exploration, no test generation and no test run. Select Start exploration when you're ready. See Explore your app.
The project limit
Your plan limits how many projects you can have. Archived projects don't count when you create a new one.
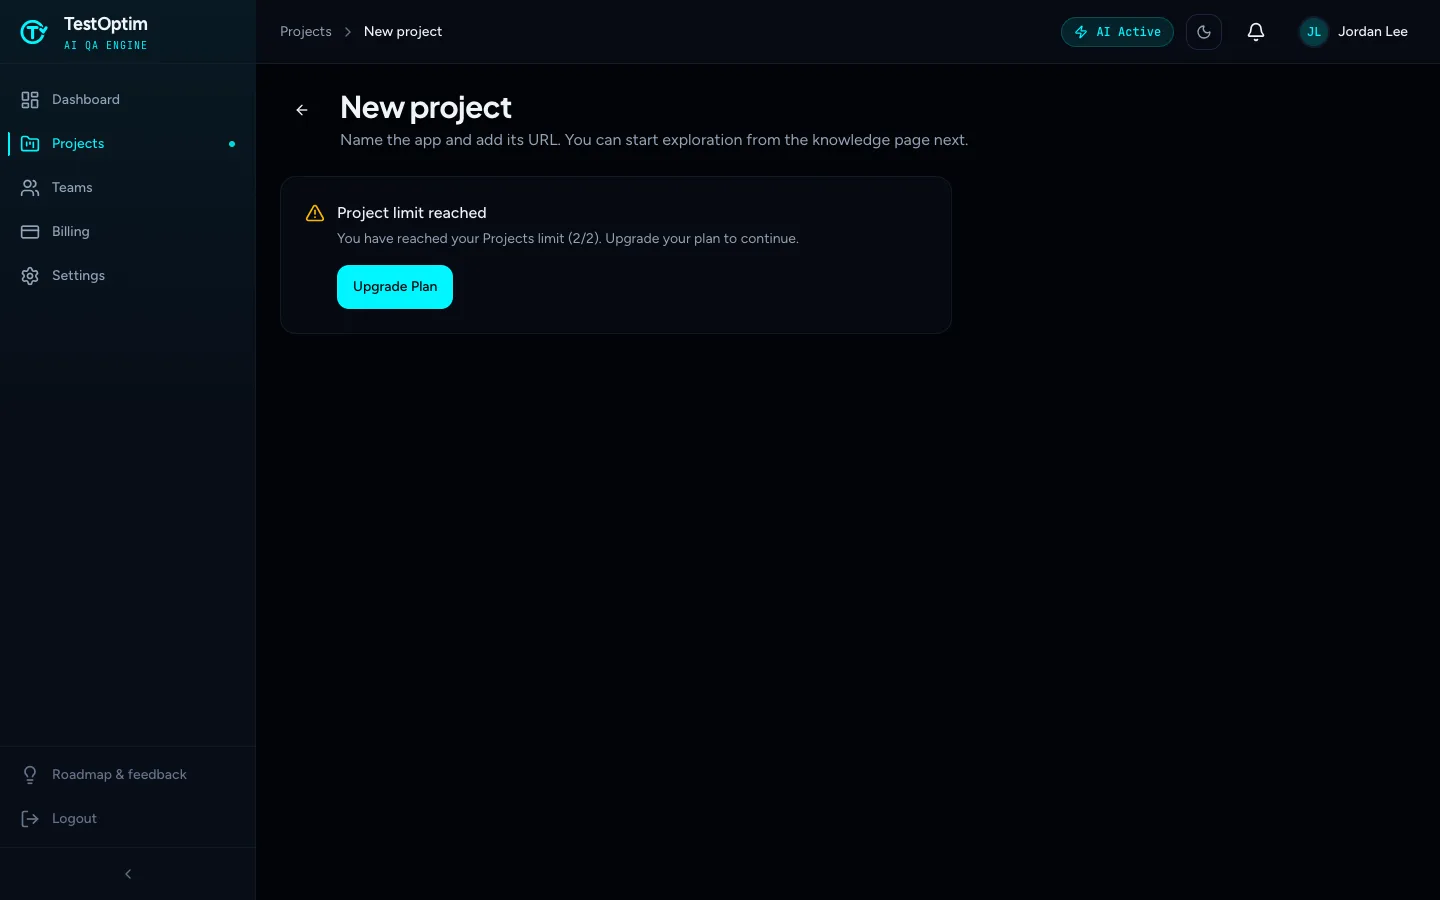
When you've reached the limit, the New project page shows a Project limit reached card instead of the form, with an Upgrade Plan button.
To make room, archive a project you no longer need, or upgrade your plan. See You have reached your plan limit.
Related
Keep reading
- Exploration & knowledgeExplore your app to build the knowledge baseStart an AI exploration of your web app in TestOptim, follow its progress live and stop it if needed. The result is your knowledge base.
- Test casesGenerate AI test cases for your web appGenerate a ready-to-run suite of AI test cases from your explored app with one click, and add more later with Regenerate without losing your edits.
- Getting startedHow TestOptim works: explore, generate, run, fixTestOptim tests your web app in five steps you start yourself. It explores your app, writes test cases, runs them, reports bugs and re-checks fixes.
- ProjectsAdd login credentials so TestOptim can sign inGive TestOptim a test account so it can explore and test pages behind your login. Add one credential profile per role and see which one each run uses.