Connect Jira and sync issue status
File the issues TestOptim finds into a Jira project automatically or by hand, and keep their status in sync both ways, including optional re-verification when Jira marks one Done.
In this article
Connect a project to Jira to file the issues TestOptim finds as Jira issues and keep the status in sync both ways.
Before you start
- You need the Owner or Admin role.
- You need an Atlassian Cloud account with access to a Jira site and project.
- Setup is per project.
Connect Jira
Open the project, then select Integrations in the left sidebar.
Open the Jira tab.
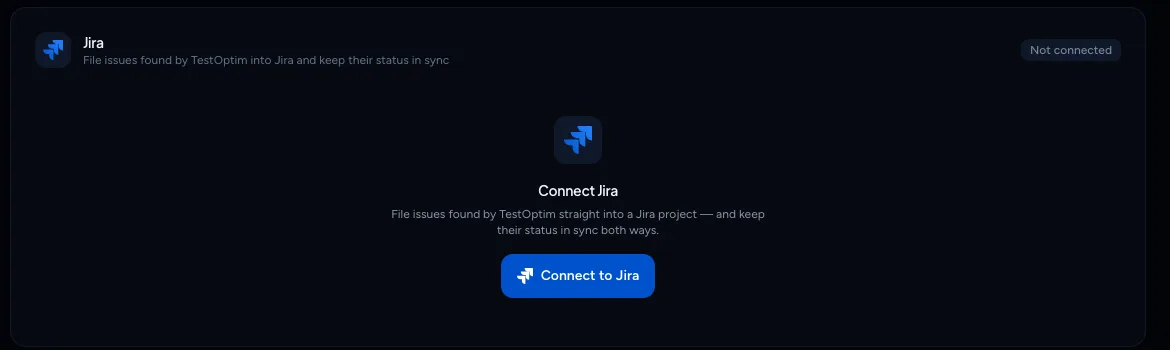
Jira is connected per project Select Connect to Jira. You go to Atlassian to sign in and approve access.
Back in TestOptim, if your Atlassian account has several Jira sites, pick one with Use this site. Choose Use a different Atlassian account if yours isn't listed.
Choose the Jira project, the Issue type and, optionally, a Priority (the default is Jira default). If you can't see your project in the list, enter its key manually.
Select Save project.
The card now says Connected and shows the Site, Project and Last sync. TestOptim registers the webhooks it needs in Jira for you.
Note
The Atlassian approval happens on Atlassian's own screens, so this article doesn't show them.
From the card you can also use Sync now, Test connection, Change project and Disconnect.
Decide how issues get to Jira
The settings card below the connection has an Automation section that controls this.
- Create Jira issues automatically is on by default. Every issue found by a test run or an exploration is filed in your Jira project as it is discovered. Turn it off if you'd rather choose.
- To file an issue by hand, open it in TestOptim. The Jira panel shows Create Jira issue (or, once linked, the Jira key and a Pull latest button).
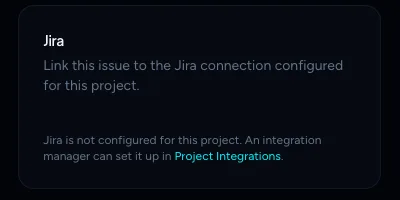
Warning
Because automatic creation is on by default, the next run or exploration starts filing issues in Jira straight away. Turn the toggle off first if you don't want that.
Keep statuses in sync
Changes go both ways. A status change in TestOptim is pushed to Jira. A transition in Jira updates the TestOptim issue and appears in its activity.
In the same card, Status mapping lets you choose what each Jira status becomes in TestOptim. These are the defaults:
| Jira status | Becomes |
|---|---|
| To Do, Backlog, Selected | Open |
| In Progress, In Review, In Testing | In Progress |
| Done, Resolved, Approved | Fixed |
| Closed, Archived | Closed |
| Won't Fix, Cancelled, Duplicate | Rejected |
| Reopened | Reopened |
Change a row with the maps to menu, then select Save changes.
Re-verify when Jira says Done
Run tests automatically on Jira status change is off by default. When on, moving a linked issue to a Done or Fixed status in Jira makes TestOptim re-check your live app before it marks the issue fixed. See Mark an issue fixed and let TestOptim verify the fix.
Fix common problems
- "Jira rejected the connection test." The card shows Needs attention. The Atlassian approval may have expired or been revoked. Select Retry now on the card, or Reconnect to approve access again.
- Nothing appears in Jira. Check that Create Jira issues automatically is on, or create the issue by hand.
Related
Keep reading
- Integrations & APIConnect Slack and use /testoptim commandsPost test results, new issues and run failures to a Slack channel, choose which events to send, and use /testoptim to list issues or start a run from Slack.
- IssuesReview issues found by TestOptimSee where TestOptim issues come from, what severity and status mean, and how to filter, search and open an issue to read the steps to reproduce.
- IssuesMark an issue fixed and let TestOptim verify the fixWhen you set an issue to Fixed or Closed, TestOptim checks your live app before it believes you. Learn what Verifying means, what happens on pass or fail, and when the check is skipped.
- IssuesAssign issues and discuss them in commentsHand an issue to a teammate, get them notified, and keep the conversation on the issue with comments. Includes what does and does not work with @mentions.