Mark an issue fixed and let TestOptim verify the fix
When you set an issue to Fixed or Closed, TestOptim checks your live app before it believes you. Learn what Verifying means, what happens on pass or fail, and when the check is skipped.
In this article
After you ship a fix, set the issue to Fixed. TestOptim then opens your live app and checks whether the problem is really gone.
Before you start
- Your role must be able to update issues: Developer, QA Engineer, QA Lead, Admin or Owner.
- The project must not be busy. TestOptim runs one job per project at a time (see what to do when another job is already in progress).
- Deploy your fix first. The check runs against the live URL of your project.
Mark an issue fixed
Open your project and click Issues.
Click the issue to open the detail panel. You can also use the full issue page.
In the Status menu, choose Fixed.
You can choose Closed the same way. Both start a check.
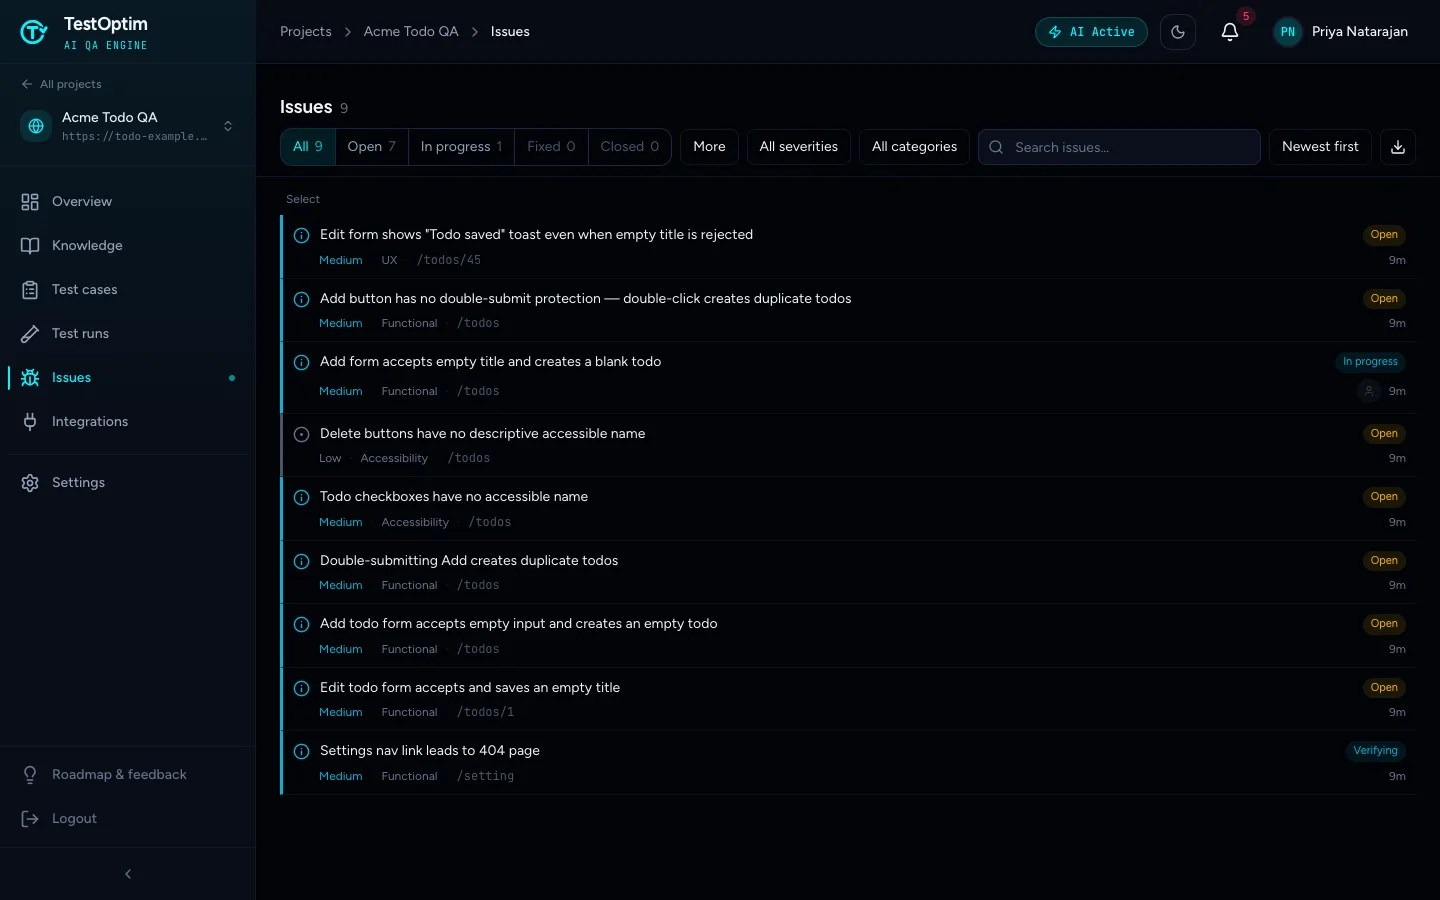
Close the panel. The row now shows a Verifying badge.
Note
The Status menu inside the detail panel has no Verifying option, so it keeps showing the old status while the check runs. Look at the row in the list instead. In the toolbar, the same state is filed under More > Pending verification.
What happens next
TestOptim logs in with your project's credential profile if needed, follows the issue's steps on the live app and decides whether the bug is gone. This usually takes under a minute.
- The fix works. The issue gets the status you asked for (Fixed or Closed).
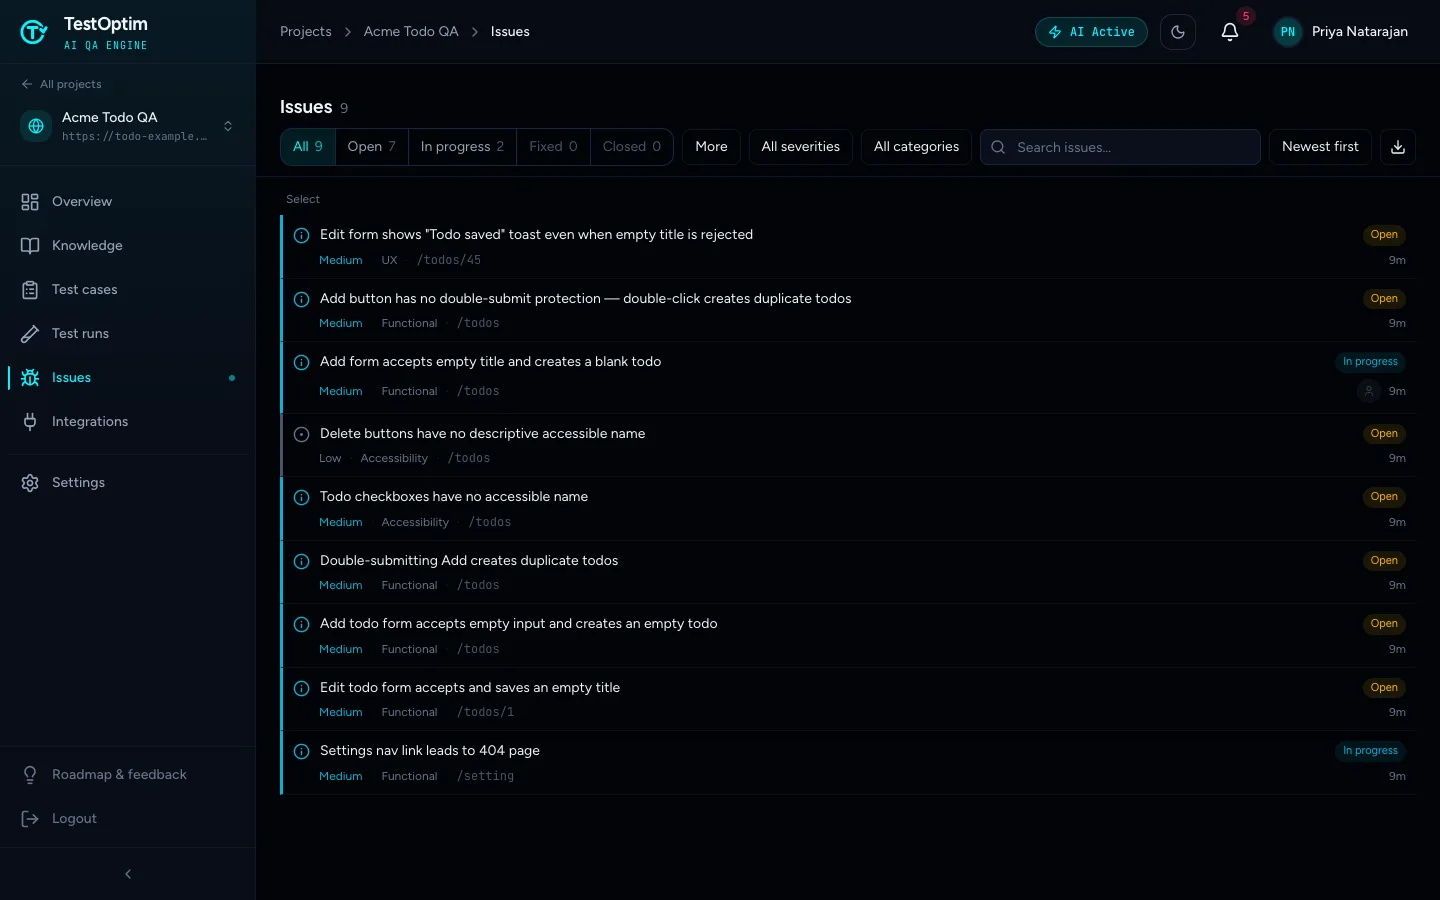
- The bug is still there. The issue goes back to In progress.
The list and the detail panel do not refresh by themselves. Reload the page, or open another page and come back, to see the result.
Note
When a check fails, TestOptim also records its reasoning in a "[QA Failed]" note. The issue page does not show notes today, so open the issue's steps and try them yourself if you want to see what the agent saw.
Warning
Do not rely on Fixed meaning "verified" while a project is busy. If a test run, exploration or another check is already running when you set the status, TestOptim cannot start the check. It applies Fixed (or Closed) straight away, with no verification. Wait for the running job to finish if you want the verification.
Re-test a failing test
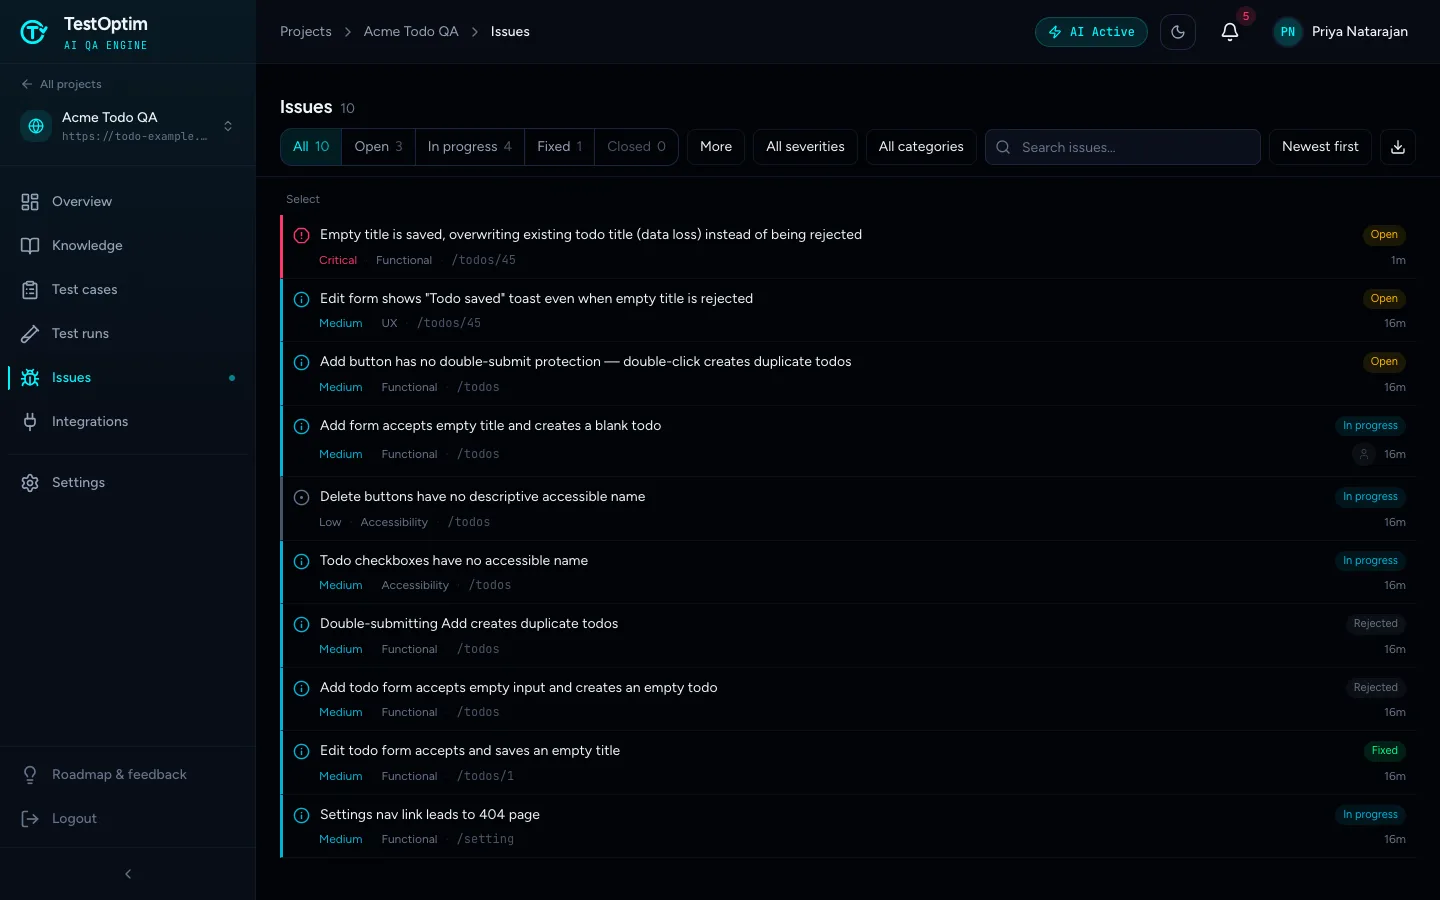
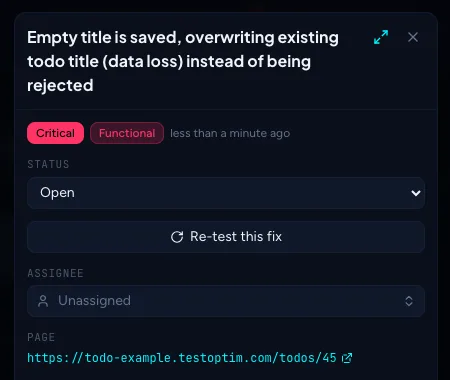
Issues that came from a test run have a Re-test this fix button under Status. It reruns only the test case that found the bug, which is a single test, not your whole suite.
- Open the issue.
- Click Re-test this fix.
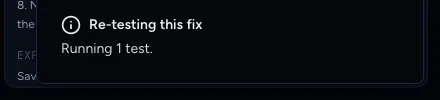
- A toast says Re-testing this fix and Running 1 test. Watch the result on the Test runs page.
Things to know:
- The button is not shown for issues found by exploration. They have no test case behind them.
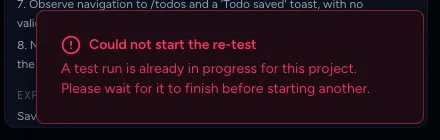
- If another job is running you see Could not start the re-test: "A test run is already in progress for this project. Please wait for it to finish before starting another."
- Re-testing runs the test like any other run. If the bug is still there, the run files a new issue and the original stays as it was. You then have two issues for one bug. Set the old one to Rejected with a note, or keep it and close the new one.
- You need permission to run tests to use it. Developers and Viewers can read test runs but cannot start them.
Tips
- For many issues, use a bulk status change. Each issue is checked on its own, and only one check runs at a time, so a large batch takes a while. See Update, export and clean up issues in bulk.
- If the Jira integration is connected with Run tests automatically on Jira status change turned on, moving a ticket to Done in Jira can also start a check. See Connect Jira.
Related
Keep reading
- IssuesUpdate, export and clean up issues in bulkSelect several issues to assign them, change their status, export them to CSV or remove them. Includes how to deal with the same bug being filed more than once.
- IssuesReview issues found by TestOptimSee where TestOptim issues come from, what severity and status mean, and how to filter, search and open an issue to read the steps to reproduce.
- Test runs & resultsRead test run results and watch recordingsRead a finished TestOptim run: which test cases passed or failed, the issues it filed, the video recording with a chapter per test, and the trace.
- Getting startedQuick start: find your first bugsGo from a new account to a list of real bugs in five steps. Create a project, explore your app, generate test cases, run a few tests and review the issues.