Update, export and clean up issues in bulk
Select several issues to assign them, change their status, export them to CSV or remove them. Includes how to deal with the same bug being filed more than once.
In this article
When a run files the same bug again, or you need to hand over a dozen issues at once, use the bulk tools on the Issues page.
Before you start
- You need a role that can update issues: Developer, QA Engineer, QA Lead, Admin or Owner. Viewers can only read.
- Bulk actions work on the issues you select on the current page. The list shows 20 per page.
Select issues
- Open your project and click Issues.
- Click Select above the list. Clicking a row now selects it instead of opening the detail panel.
- Click each issue you want, or click Select all to pick every issue on the page. Click Select all again (it now reads Deselect all) to clear them.
A bar appears at the bottom with the number selected and four actions: Assign, Status, Export and Delete.
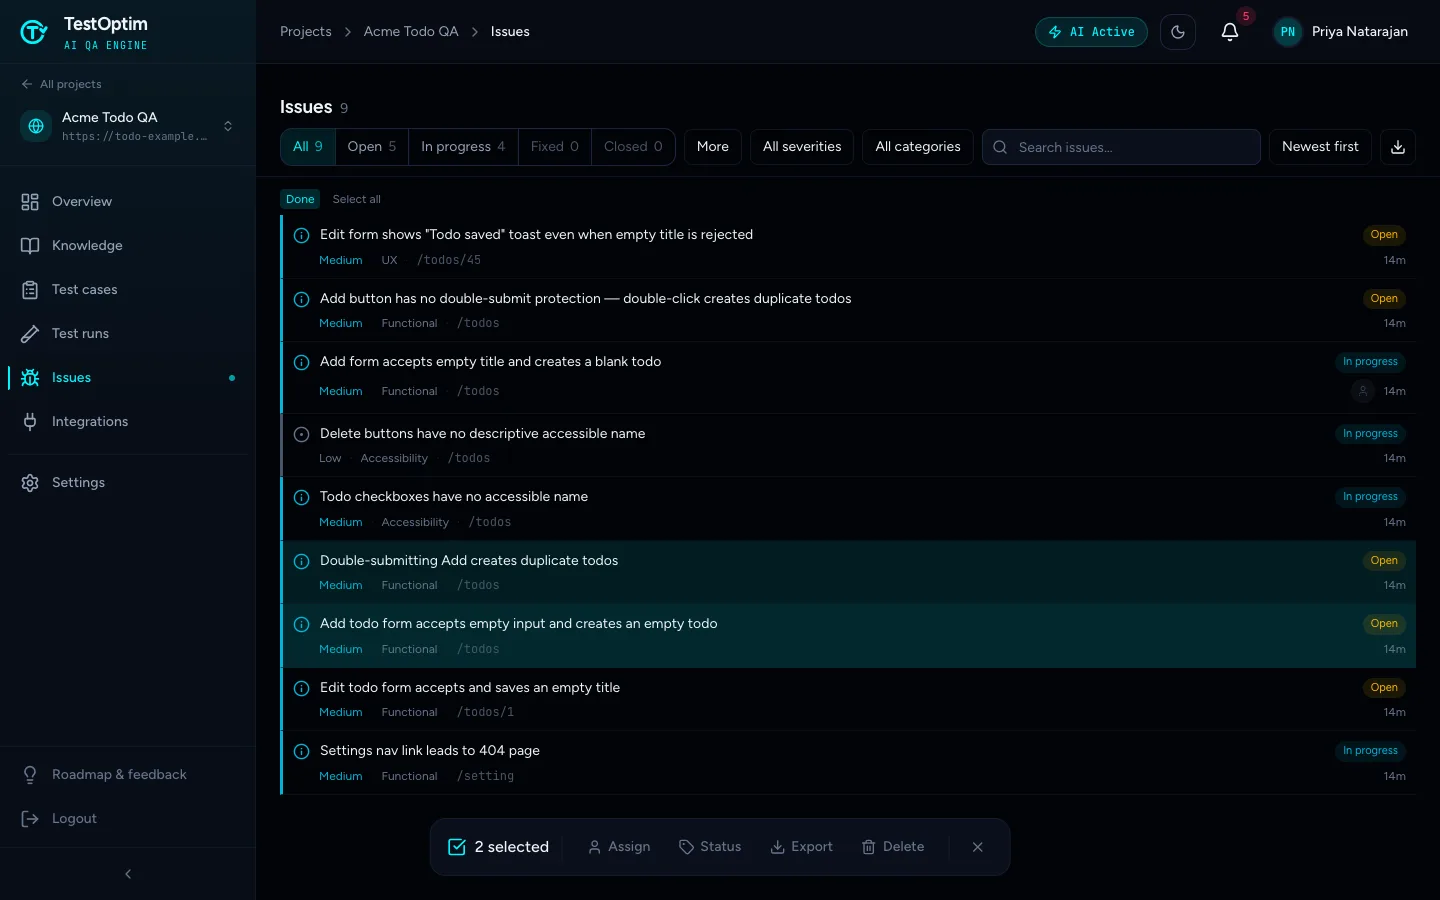
To leave selection mode, click Done (or the X on the bar to clear the selection).
Assign several issues
- Click Assign in the bar.
- Choose a team member in the Bulk Assign window. Use Search team members... to filter.
- Click Assign to user. If you leave Unassigned selected, the button reads Assign to nobody and removes the assignee from every selected issue.
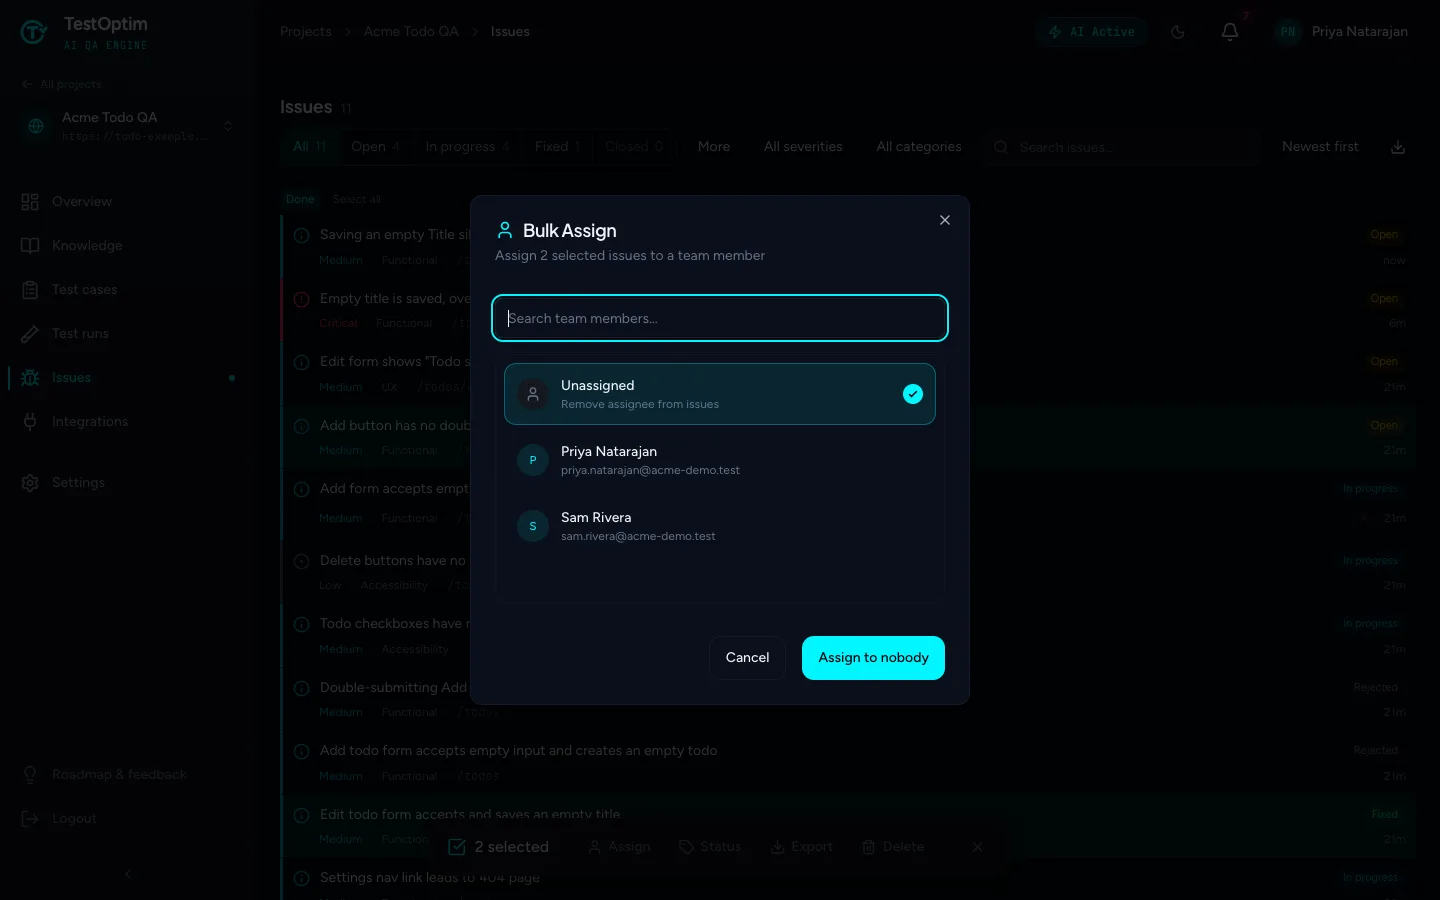
A toast says N issues assigned. If you chose Unassigned, you also see Assignee removed from selected issues.
Note
Bulk assignment is silent. The assignee is not notified and the issue's activity does not record it. Assign a single issue from its detail panel if you need them to get a notification.
Change the status of several issues
Click Status in the bar.
Choose a status in the Bulk Status Change window: Open, In Progress, Fixed, Closed, Rejected or Reopened.
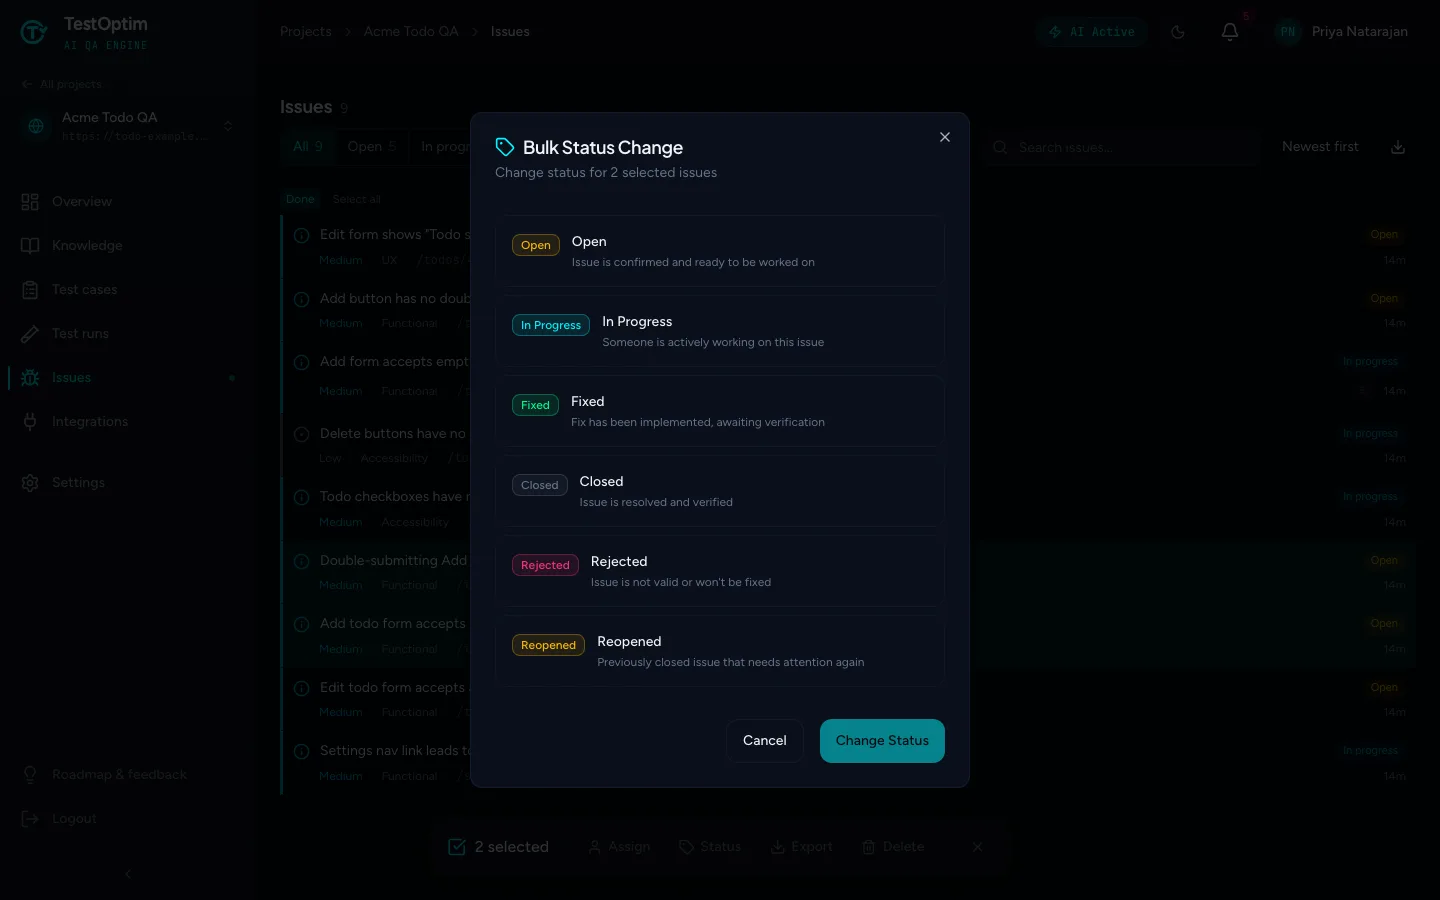
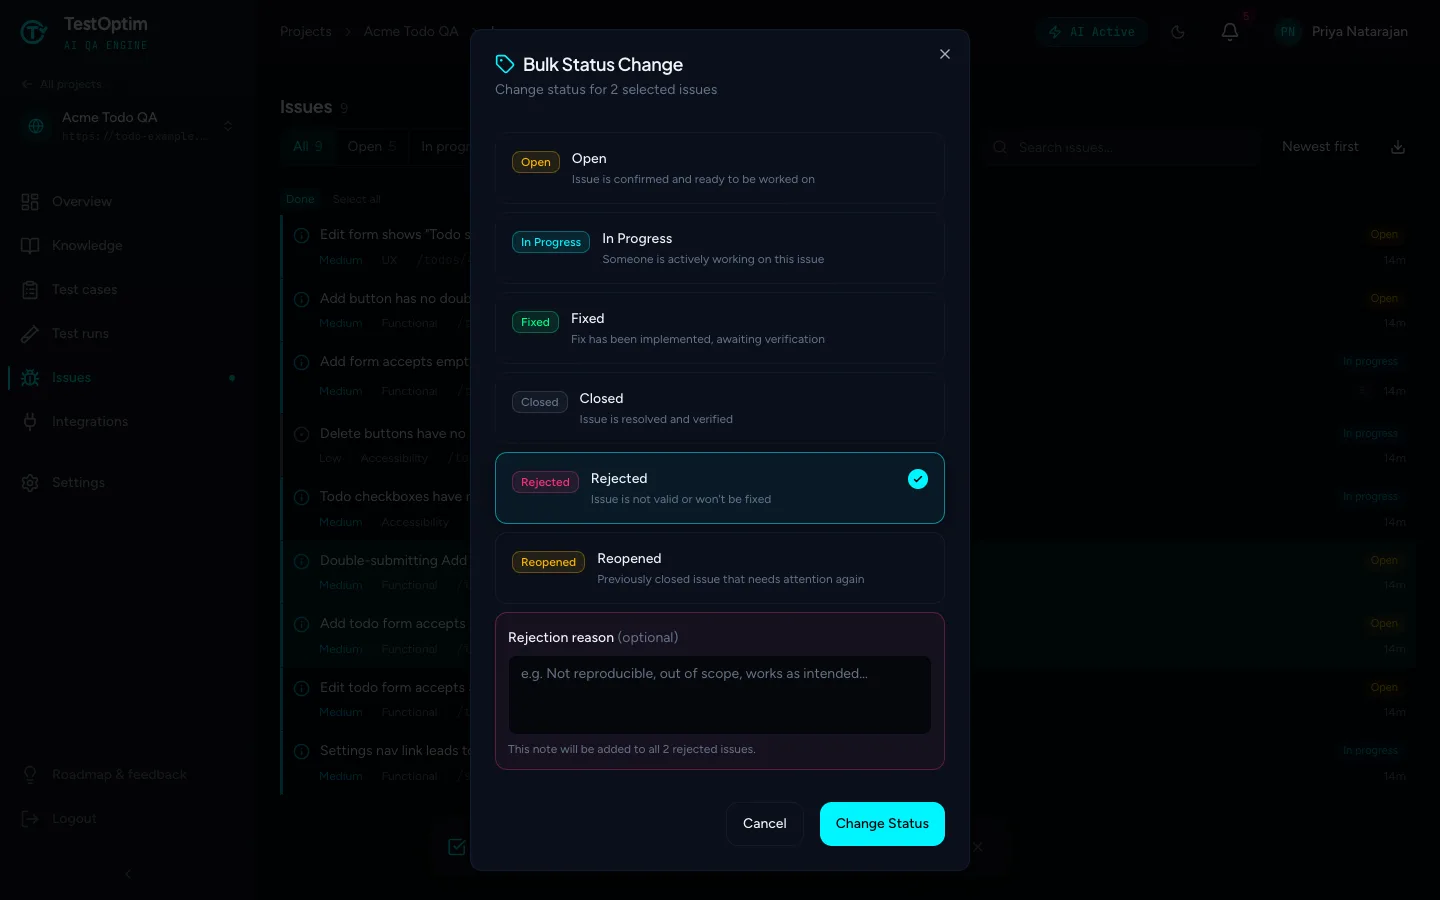
Each status has a one-line description. For Rejected, optionally add a Rejection reason. It is added as a note to every selected issue.
Click Change Status. A toast says N issues updated.
Warning
Fixed and Closed start a verification for each selected issue, the same as on a single issue. Only one check runs at a time per project, so a large batch takes a while, and each check uses the live app. If a test run or exploration is running, the status is applied straight away without verification. See Mark an issue fixed and let TestOptim verify the fix.
Export issues
There are two ways to export, and both give you a file you can open in a spreadsheet.
- Selected issues: select them, then click Export in the bar. The file is a CSV.
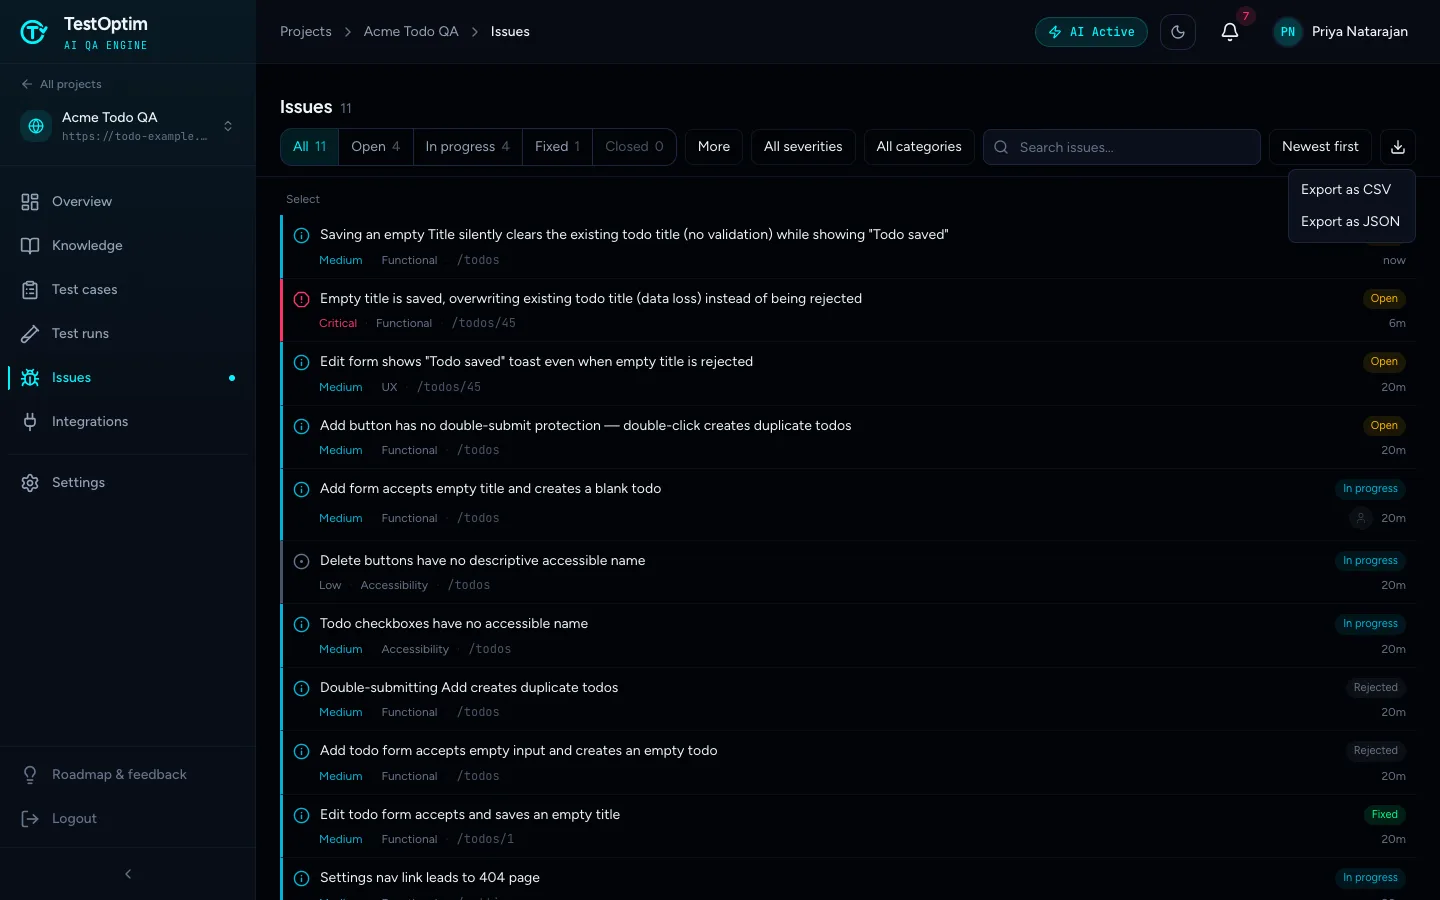
- Everything in the current view: click the download icon (Export issues) in the toolbar and choose Export as CSV or Export as JSON. The file contains every issue that matches your current filters and search, not just the current page. Its columns are id, title, description, severity, category, status, pageUrl and createdAt.
Delete issues
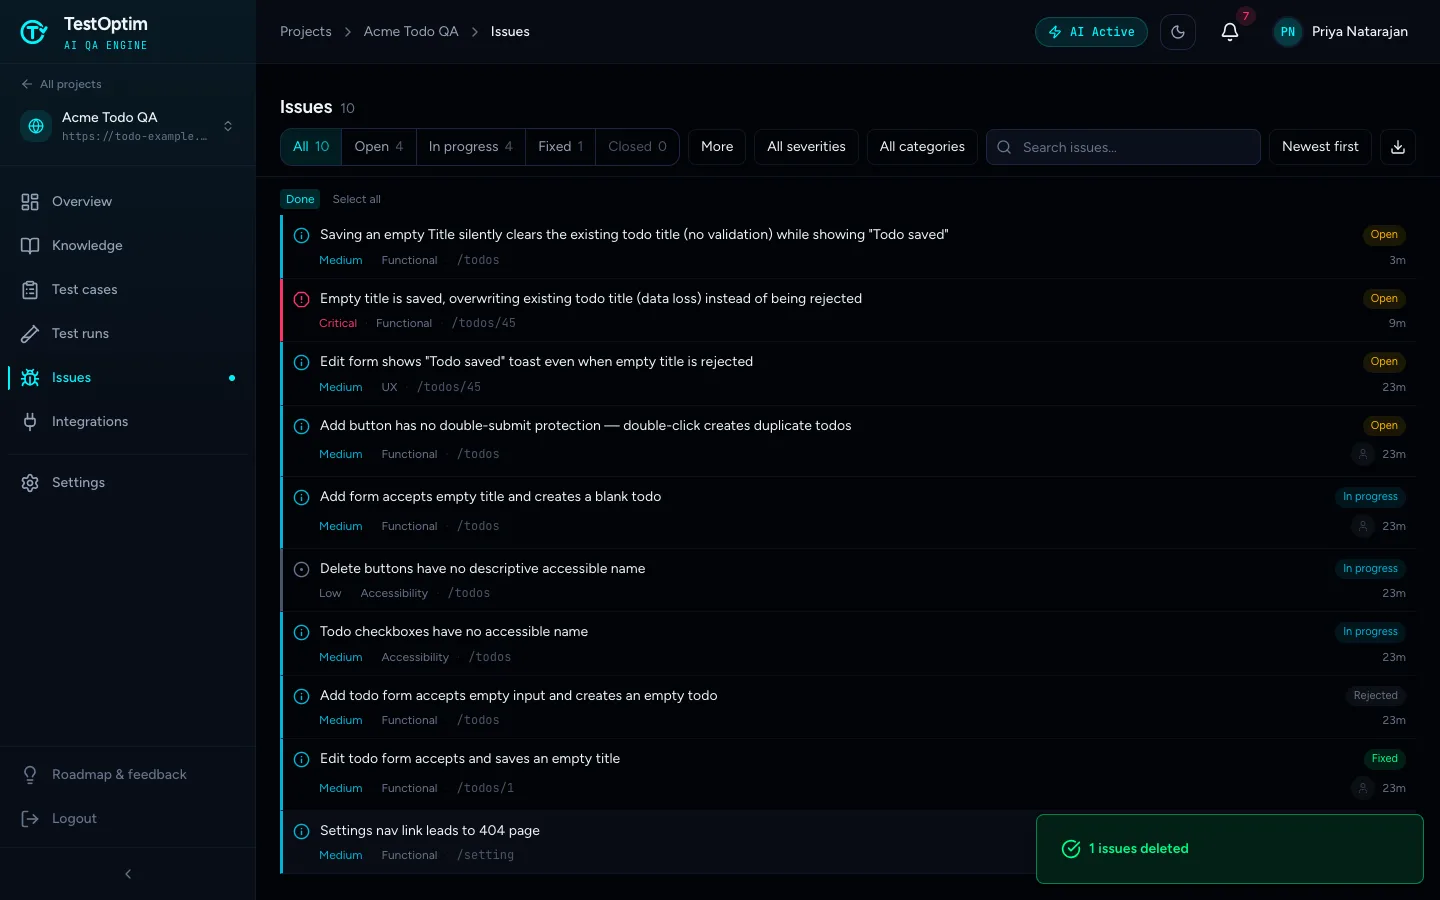
Select the issues and click Delete in the bar. A toast says N issues deleted and they leave the list.
Warning
Delete acts immediately. There is no confirmation window and no way to bring issues back from the app.
If you only want to dismiss an issue, set it to Rejected instead. It stays in your list and in exports and can be found under More > Rejected.
Deal with duplicate issues
Test runs file a new issue every time a test fails, even if you already have an issue for the same bug. Re-testing a fix that did not work, or running the same suite twice, therefore creates duplicates. Exploration can also file similar issues with different wording.
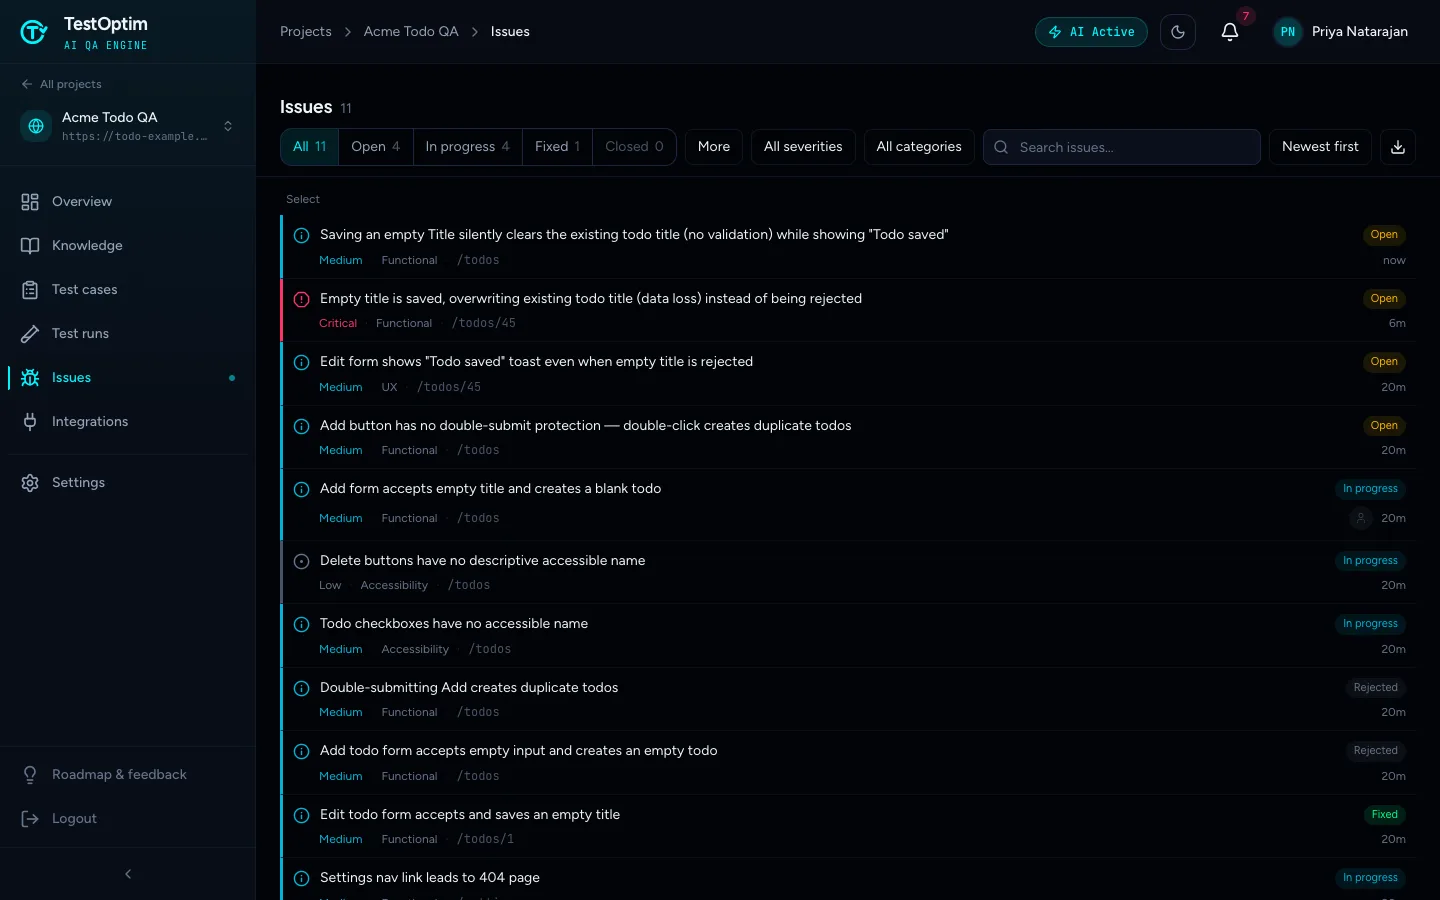
There is no merge or "mark as duplicate" action in the app today. To clean up:
- Search for a word from the title, for example
empty title, to find the similar issues. - Pick the one you want to keep, usually the oldest or the one with a screenshot.
- Select the others and use Status > Rejected, with a Rejection reason such as "Duplicate of Add form accepts empty title".
- Optionally, open the issue you keep and use Add Link under Related Issues to link the remaining ones, so the connection is visible.
Related
Keep reading
- IssuesMark an issue fixed and let TestOptim verify the fixWhen you set an issue to Fixed or Closed, TestOptim checks your live app before it believes you. Learn what Verifying means, what happens on pass or fail, and when the check is skipped.
- IssuesReview issues found by TestOptimSee where TestOptim issues come from, what severity and status mean, and how to filter, search and open an issue to read the steps to reproduce.
- Test runs & resultsRead test run results and watch recordingsRead a finished TestOptim run: which test cases passed or failed, the issues it filed, the video recording with a chapter per test, and the trace.
- Getting startedQuick start: find your first bugsGo from a new account to a list of real bugs in five steps. Create a project, explore your app, generate test cases, run a few tests and review the issues.